 Save
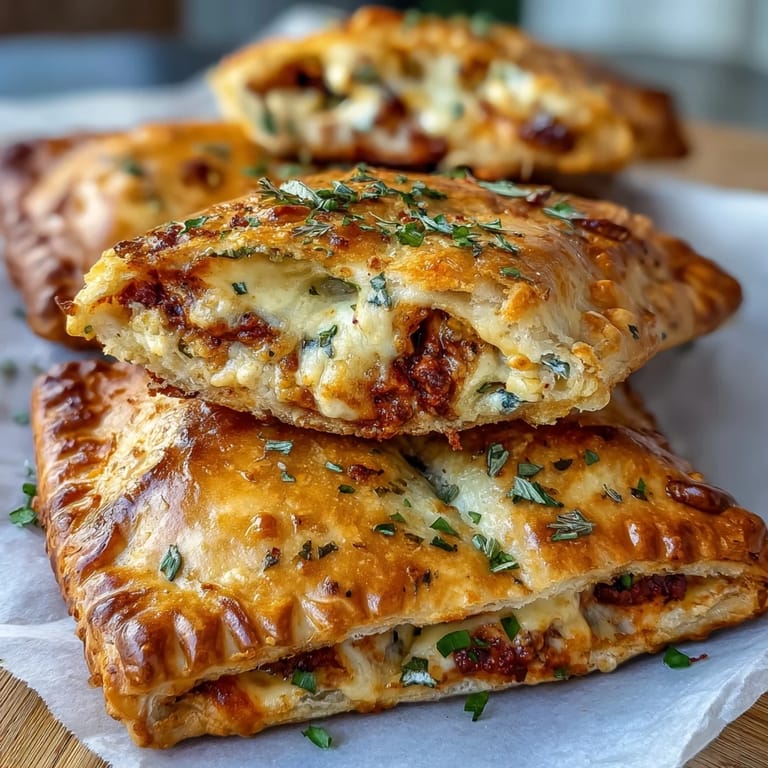
Save Last Tuesday, I was standing at my kitchen counter at 6 PM, staring at Greek yogurt and flour, wondering if I could actually make something that tasted like pizza without feeling guilty about it. Turns out, you can. These hot pockets emerged from that kitchen experiment and they've become my go-to when I want something warm, cheesy, and satisfying without the weight that usually comes with fried dough. The magic is in how simple the dough is—just a few pantry staples that come together in minutes and bake into something surprisingly crispy on the outside and soft within.
My neighbor came over while I was pulling these out of the oven and the smell of melted cheese and Italian herbs caught her attention before she even stepped inside. She grabbed one straight off the cooling rack, burned her fingers a little, and then looked genuinely shocked that something so portable and convenient could actually taste this good. That moment told me everything—these aren't health food that happens to taste okay; they're legitimately delicious and you could serve them at a casual dinner party without apology.
Ingredients
- Low-fat Greek yogurt: This is your secret weapon for keeping the dough tender and adding a protein boost without any tang that would overpower the pizza flavor—cottage cheese works in a pinch if that's what you have.
- All-purpose flour: Use this for the classic tender crumb, though almond flour and coconut flour blends work if you're avoiding grains and don't mind a slightly denser pocket.
- Baking powder: Just one tablespoon is enough to give you that gentle rise and light texture without making these taste cake-like.
- Italian seasoning: This blends right into the dough and flavors it from the inside out, so every bite tastes intentional, not just like you sprinkled something on top.
- Garlic powder: Keep it measured but don't be shy—it's what makes someone take a second bite and ask what's different about these.
- Salt: One teaspoon sounds small but it's the backbone that makes every other flavor pop without being obvious about it.
- Pizza sauce: Homemade is great if you've got time, but store-bought saves you steps and works beautifully here, just watch the sodium if that matters to you.
- Low-fat mozzarella: Shred it fresh if possible because pre-shredded sometimes has additives that keep it from melting as smoothly into that creamy, stretchy texture you want.
Tired of Takeout? 🥡
Get 10 meals you can make faster than delivery arrives. Seriously.
One email. No spam. Unsubscribe anytime.
Instructions
- Get your oven ready and set up your workspace:
- Preheat to 375°F and line your baking tray with parchment paper so these don't stick and you don't waste time scrubbing later. Having everything ready before you start mixing is the kind of small move that makes the whole process feel smooth instead of frantic.
- Build your dry base:
- Combine flour, baking powder, Italian seasoning, garlic powder, and salt in a large bowl, stirring them together so the leavening and seasonings distribute evenly. This prevents pockets of unmixed baking powder that would create bitter spots or uneven rise.
- Bring the dough together:
- Add your Greek yogurt and mix until a shaggy dough forms—it won't look smooth yet and that's exactly right. Stop mixing once everything is moistened; overworking it at this stage makes the pockets tough instead of tender.
- Knead to smoothness:
- Turn the dough onto a lightly floured surface and knead for 2-3 minutes until it becomes smooth and slightly elastic, which means the gluten has relaxed just enough. You'll feel it transform under your hands from rough and sticky to something with a bit of spring to it.
- Divide and shape:
- Split the dough into 8 equal pieces and roll each one into an oval about 6 inches long—think more flat and stretched than perfectly round. The slight irregularity actually helps when you fold because the edges seal better.
- Fill with restraint:
- Spoon 15g of pizza sauce and 20g of cheese onto one half of each oval, staying about a half-inch from the edges so there's room to seal without filling escaping. This is one of those moments where less is actually more because overstuffing is the fastest way to end up with pockets that burst open.
- Seal like you mean it:
- Fold the dough over the filling and press the edges down firmly, then use a fork to crimp all the way around—wet your fingers slightly if the dough resists. The fork serves double duty, sealing the pocket and creating those classic hot pocket ridges that make them look intentional.
- Bake until golden:
- Place them on your prepared tray and bake for 18-20 minutes until the tops are golden brown and slightly crispy. When you tap the top, it should sound just a bit hollow, letting you know the inside is cooked through but still moist.
- Rest before eating:
- Let them cool for at least 5 minutes because the filling stays extremely hot inside even when the outside feels manageable. This also allows the dough to set so you can actually pick them up without them falling apart.
 Save
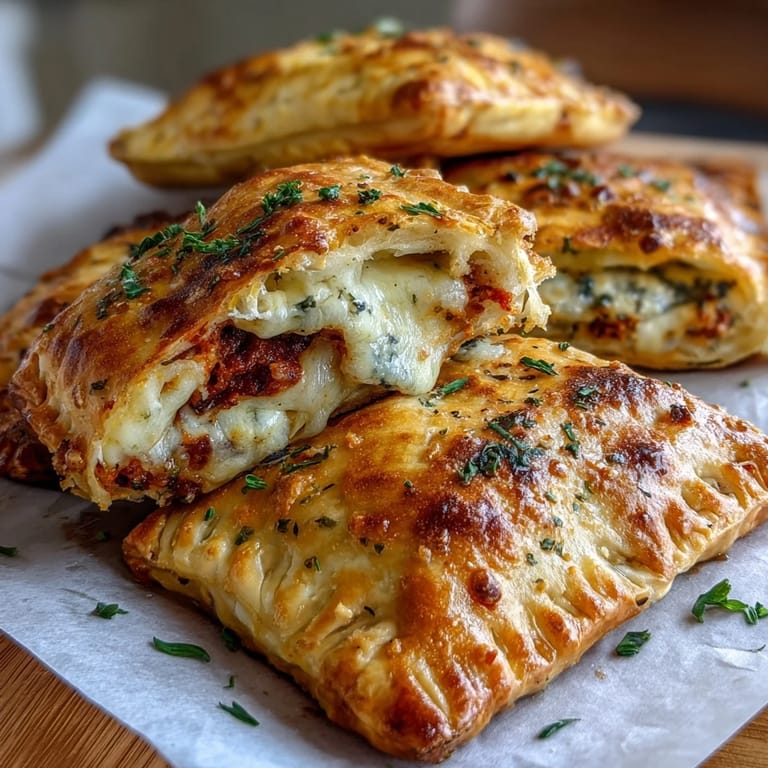
Save There's something deeply satisfying about making something that tastes like indulgent junk food but actually nourishes you. My coworker started bringing these to our lunch meetings and suddenly everyone wanted the recipe, which is when I realized these weren't just a personal win—they'd become the kind of thing people request.
Storage That Actually Works
I learned the hard way that storage matters more than people think. These stay fresh in an airtight container in the fridge for up to 3 days, and they reheat beautifully in a 350°F oven for about 8 minutes until the cheese melts again and the dough warms through. Freezing them works wonderfully too—just pop them in a freezer bag for up to 3 months, and you can bake them straight from frozen, adding just 5 extra minutes to the cooking time.
Ways to Make Them Your Own
The basic version is fantastic, but these are also the kind of recipe that invites personalization. I've added finely diced lean turkey, rotisserie chicken shredded small, and even crumbled tempeh for plant-based protein, and every version worked beautifully. You can also swap whole-wheat flour for some of the all-purpose flour if you want extra fiber, or mix in fresh herbs like basil or oregano right into the dough.
Pairing and Serving Ideas
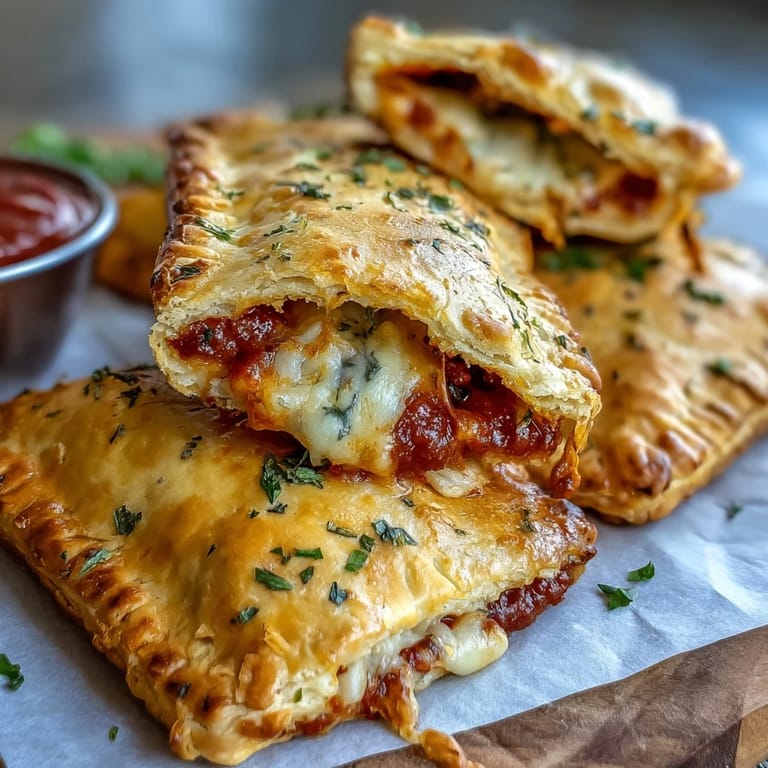
These stand on their own perfectly well, but they shine when paired thoughtfully with other foods. Serve them alongside a crisp salad, some steamed broccoli, or even a simple side of steamed veggies for a complete meal that feels balanced instead of one-note. I've also dunked them in extra pizza sauce or marinara, paired them with a cold Greek salad on the side, and even brought them to picnics where they traveled better than traditional pizza and stayed fresher too.
- A small side salad with lemon vinaigrette cuts through the richness and makes the meal feel lighter.
- If you're meal prepping, pair these with raw veggies and a protein-rich dip for a satisfying lunch box.
- Serve them warm from the oven for the best texture, or reheat gently if you've made them ahead.
 Save
Save These hot pockets have become proof that eating for your goals doesn't mean sacrificing flavor or satisfaction. Make them once and you'll understand why they've earned a permanent spot in my rotation.
Common Recipe Questions
- → What type of flour works best for the dough?
All-purpose flour provides a soft texture, but for lower carbs, almond and coconut flour blends work well while keeping pockets tender.
- → Can I use alternative cheese options?
Yes, fat-free mozzarella is great, but other low-fat cheeses that melt well can be used for varied flavors.
- → How do I ensure the pockets seal properly?
Press the edges firmly and crimp with a fork. Adding a touch of water helps create a tight seal to prevent filling leakage.
- → What is a good way to store leftover pockets?
Store in an airtight container in the fridge for up to three days or freeze for longer preservation.
- → Can I add protein variations inside the pockets?
Adding diced lean meats like turkey or chicken, or plant-based proteins, can boost flavor and nutrition.